Azure Configuration for IOC Import Email to Notes
The following steps will need to be performed by someone in your IT department who has the appropriate permissions in your Microsoft Azure tenant. The process creates an Azure application with a secret key and grants the application Read/Write access to the email address you are importing from. The IOC Import Email to Notes process will use the secret key to request a security token from Microsoft’s login provider. The token will then be used to make calls to the Microsoft Graph API for reading and moving the emails.
- Login to the Azure portal and go to App Registrations
- If you don’t already have an app for your iStart application, click New Registration and create a new app with an appropriate name (Ex. iStart or iStart Email Import). The rest of the fields should be fine with the defaults.
- Once created, go the Overview page of the app and take note of the Application (client) ID and Directory (tenant) ID. Those values will be used when configuring the IOC Import Email to Notes configuration file.
- Click on Certificates and secrets on the left hand menu and click “New client secret”.
- Give the certificate a description and select the expiration period you are comfortable with.
- Once the secret is created, copy the key from the Value column. It will be used in the IOC Import Email to Notes configuration file.
- Click on API permissions in the left hand menu and click “Add a permission”.
- Select Microsoft Graph -> Application permissions -> Mail -> and check the box for Mail.ReadWrite
- Click the “Grant admin consent for…” to change the status of the permissions to “Granted”. If you do not have permissions, you may need to ask an Azure Administrator to grant the permissions for you.

- Follow the instructions on the following link to narrow down the Mail.ReadWrite to only the mailbox that the import process should check.
https://learn.microsoft.com/en-us/graph/auth-limit-mailbox-access - Open the IOCemailimportconfig.cfm file that was provided in the IOC Import Email to Notes download and copy the tenant, email address, client id, and client secret into the file.

Testing Access with Postman
Postman.co provides an easy way to test your Azure settings. The following steps will send a request to Microsoft’s login service to receive an access token, and then that access token will be used to retrieve a list of email messages from the Graph API.
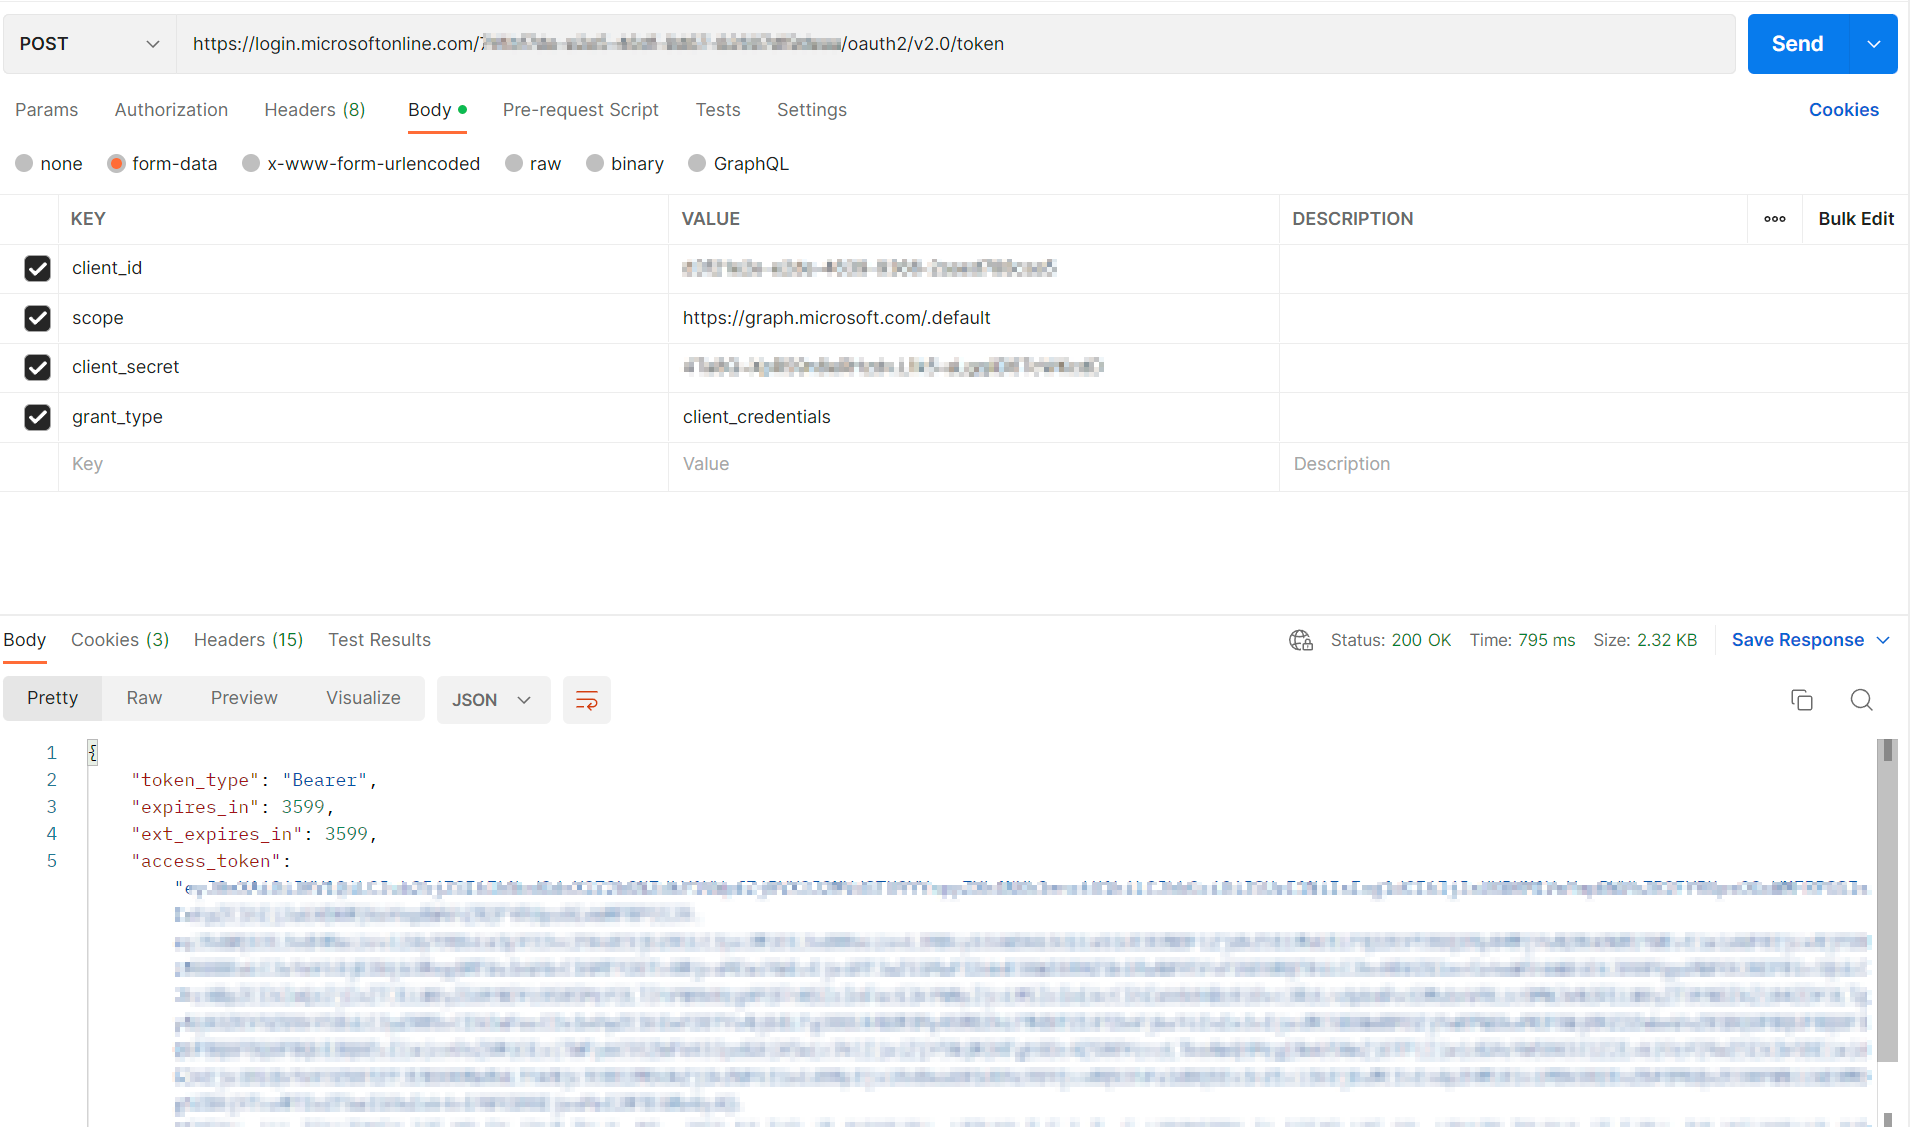
- Login to Postman.co and create a new HTTP request.
- Set the request to POST going to https://login.microsoftonline.com/YOUR-TENANT-ID-HERE/oauth2/v2.0/token
- In the body, insert the form-data keys and values as pictured below, using your client id and client secret from Azure
- Once you send the request, you should receive a response that contains an “access_token”. You’ll use the access token in the next step

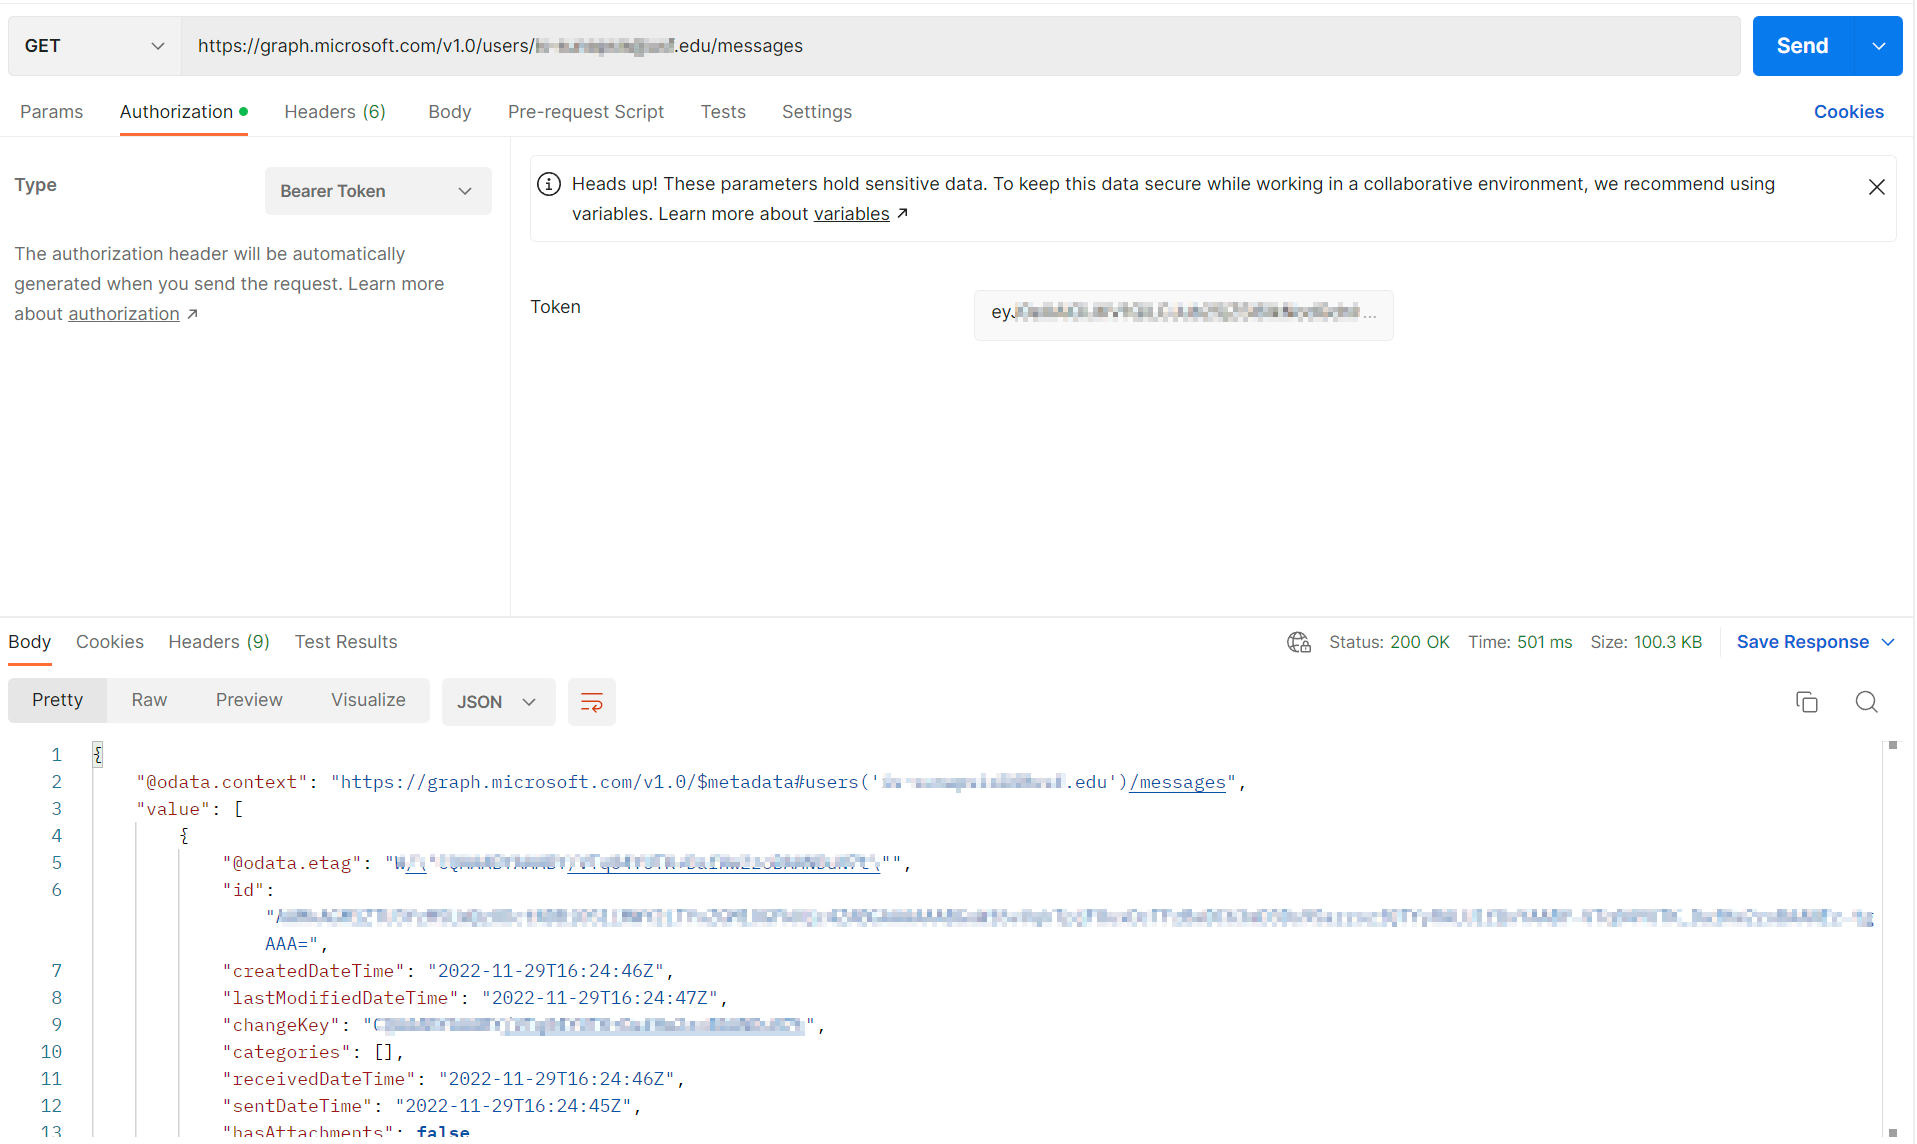
- Create a new GET request
- Set the url to https://graph.microsoft.com/v1.0/users/THE EMAIL ADDRESS YOU ARE IMPORTING FROM/messages
- Under Authorization, set a Bearer Token and use the value from the access token you received in the last request.
- After sending the request, you should receive back a response with a JSON list of the emails in the email box.